Cisco Modeling Labs-Initial Thoughts
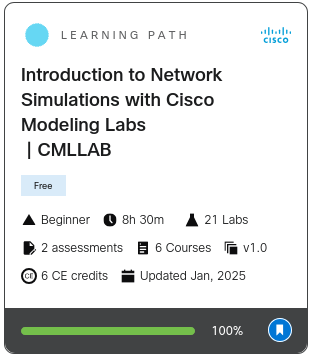
It seems like every year that Cisco has a Black Friday Cisco Modeling Labs (CML) deal. I’ve generally been an eve-ng user, but this past year I finally jumped in and decided to give it a try. This post will give my initial thoughts as well as a few recommendations on how to get started with some of the lesser known tools. Before I begin, I should mention that a lot of what I learned was from the free course I found on Cisco U. The Cisco U course, Introduction to Network Simulations with Cisco Modeling Labs | CMLLAB, had a lot of info that I would not have known about if I had just purchased the product and went in blind. I should also mention…its good for 6 CE credits if you’re into that…
The first few things I noticed about CML was that the system just worked. In other network simulation tools I’ve used, I’ve had to fiddle with images, permissions to get wireshark captures functioning, etc. CML “worked out of the box” for me. There were a few things to learn that made my experience a bit better (like the breakout tool), but I was able to get up and running right away.
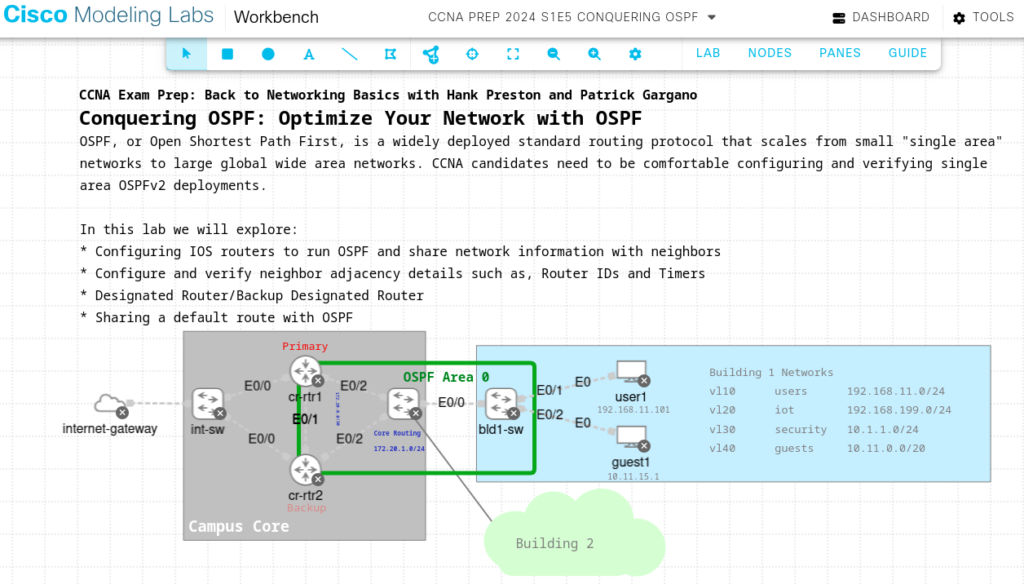
One resource I found during the Cisco U course, was the Cisco Devnet CML Community on GitHub. This repo has lots of helpful items like third party images and pre-built labs. For example, you can find a few CCNA prep labs that you can download and instantly get running there:
All in all, I’m happy with my purchase and will likely be renewing my license this upcoming Black Friday. In future posts, I’ll run through the breakout tool which greatly improves the console experience, and putting a Lets Encrypt Cert on your local CML site. Thanks for reading.