Cisco Modeling Labs-Using the Breakout Tool
One thing I wasn’t immediately a fan of with Cisco Modeling Labs (CML) was its web-based console. While it’s convenient for making quick changes, I preferred the flexibility offered by EVE-NG, where you can launch multiple external console windows simultaneously. That feature is great for troubleshooting and allows easy comparison of configurations, resizing of windows, etc.
Initially, I was disappointed, but after taking the free Introduction to Network Simulations with Cisco Modeling Labs class on Cisco U, I discovered that CML provides a similar feature called the Breakout Tool. It takes a little setup, but I’ll walk you through it on a Linux machine in this post.
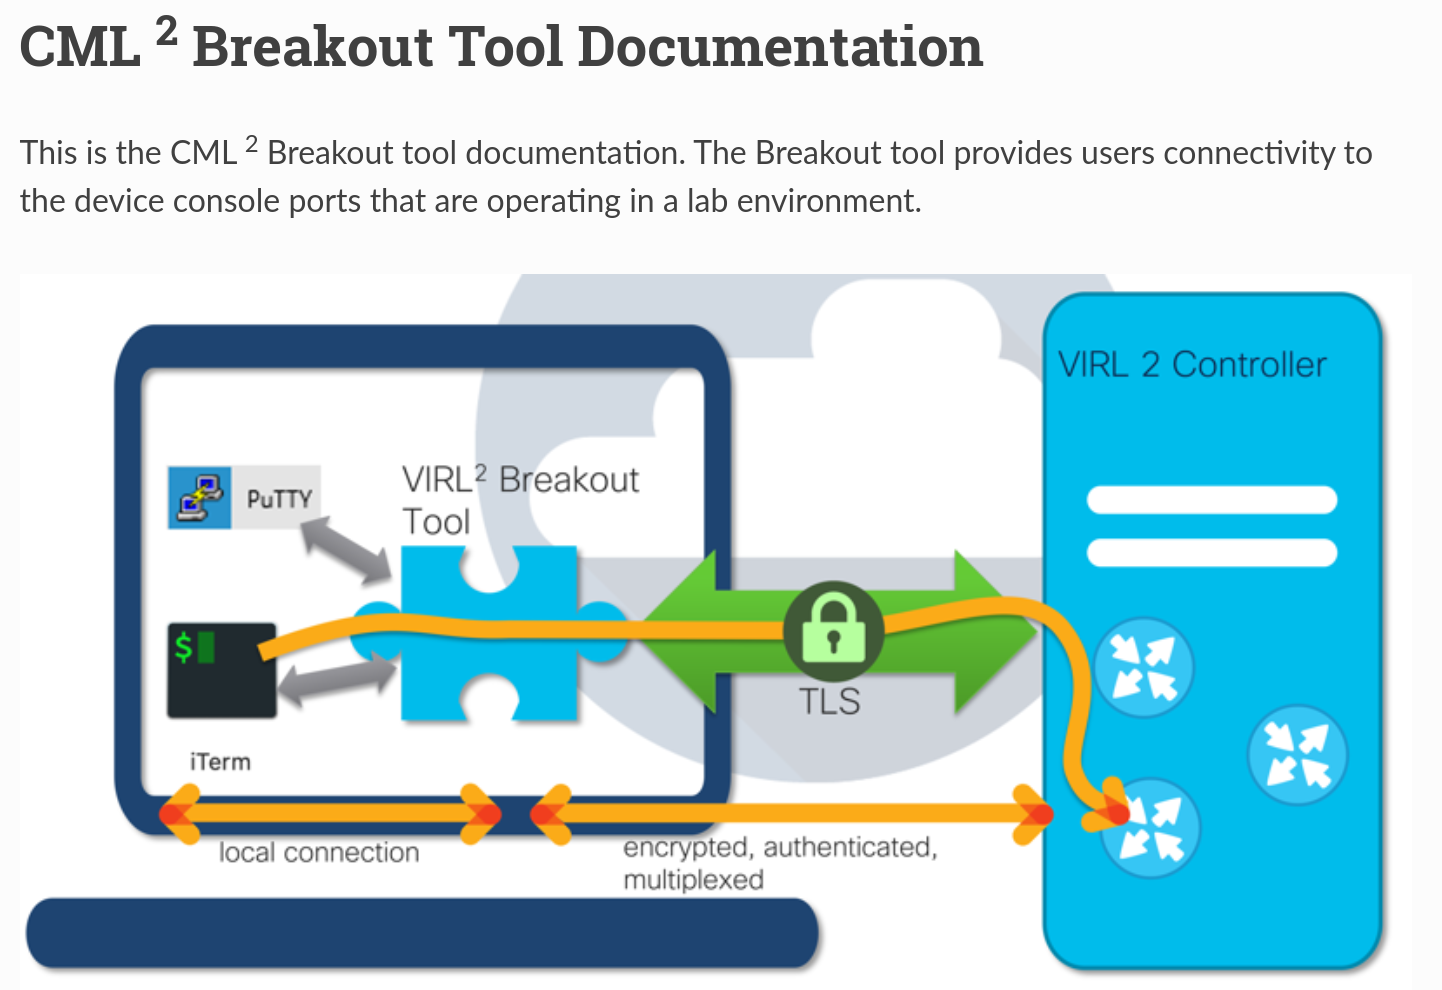
Step 1: Access the Breakout Tool Documentation
First, log into your CML instance. Hover over the Tools tab and select Breakout Tool. You’ll be redirected to the Breakout Tool documentation.

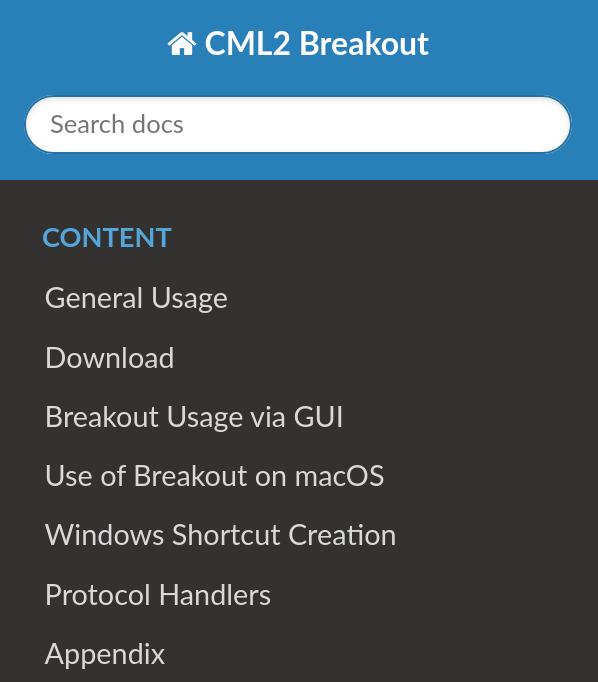
On the left-hand navigation bar, click Download.
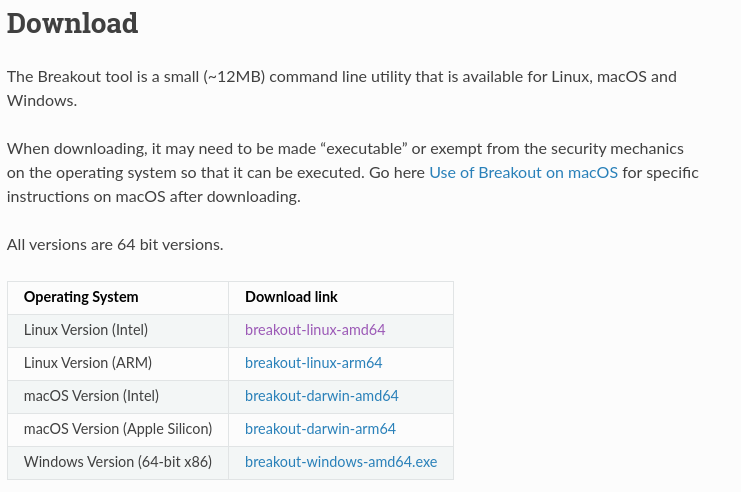
This will bring you to a page that includes quick setup instructions and download links for various operating systems.
Step 2: Install and Configure the Breakout Tool
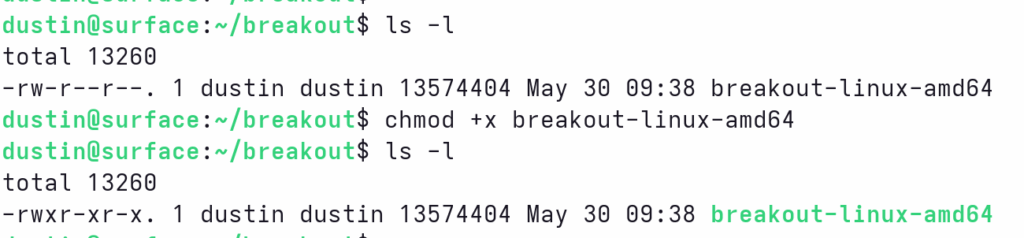
After downloading the file for your OS, make it executable by issuing the chmod +x command
The Breakout tool has several options, but we’ll be quickly running through how to get quickly up and running. First, create a configuration file by running the “config” flag like so:

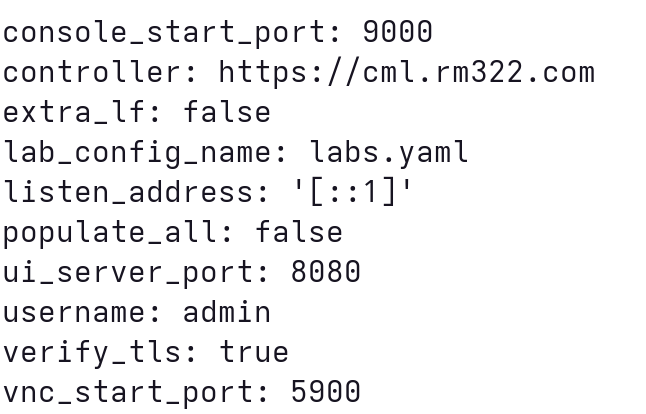
Open the config.yaml file with your editor of choice to update the following fields:
- controller: set to your CML hostname or IP
- listen_address: defaults to [::1], you can change this to 127.0.0.1 if you prefer
- verify_tls: set to false if your local CML instance does not have a certificate issued from a recognized Certificate Authority.
In my case, I just need to update the controller to the appropriate hostname:
Step 3: Securely Set Your Password
The Breakout Tool requires your CML user password. While you can hardcode this in the config.yaml file, I recommend using an environment variable for better security. The CML config file lists out several supported variables. We’ll be setting the BREAKOUT_PASSWORD. Here is the method I use:
read -s -p "Enter password:" BREAKOUT_PASSWORD
export BREAKOUT_PASSWORD
This method keeps your password out of your shell history and only stores it temporarily. When you’re done, you can clear it with:
unset BREAKOUT_PASSWORDStep 4: Launch the Breakout Tool
Start the tool with the UI enabled like so:

You can ignore the labs.yaml log and go to the the address specified to pull up the Breakout UI page:
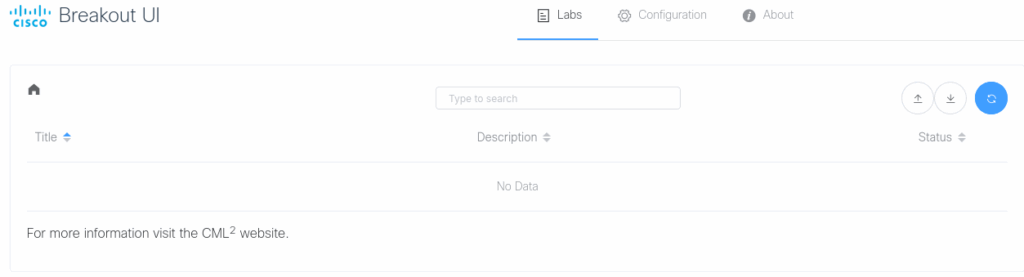
Ensure that you have a lab started, then hit the blue refresh button in the breakout UI. You should see any lab that is turned on populate. In this case, I have a single lab started:
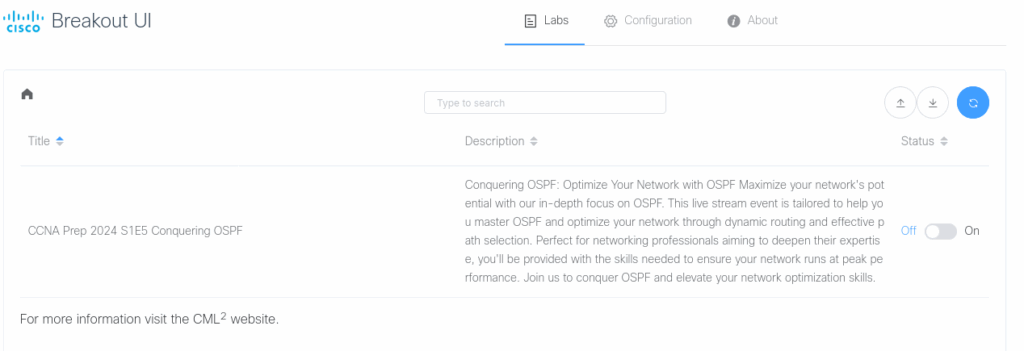
Toggle the status switch to on and then click the lab to have the nodes displayed:
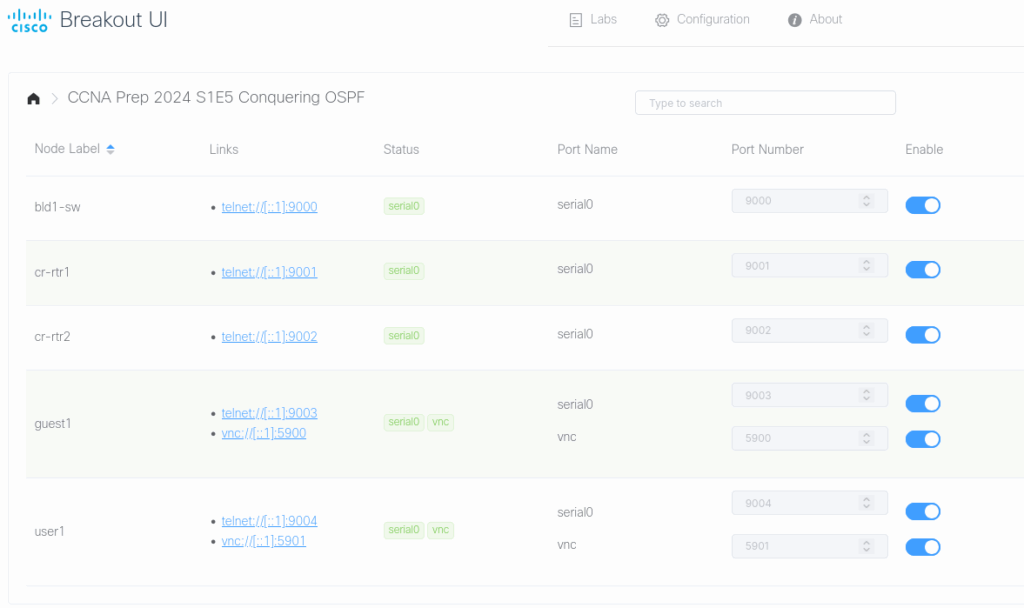
Step 5: Connect to Your Nodes
To connect to a node, telnet to the port listed in the node table:
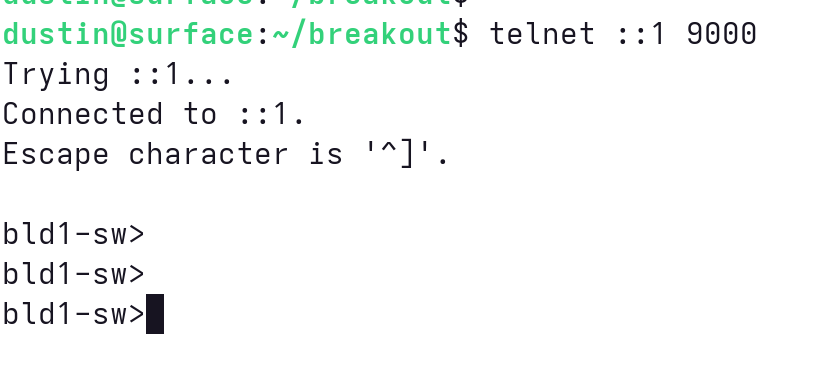
Voila! You’re now able to access CML nodes using your own terminal windows via the breakout tool.
Final Thoughts
While the setup might seem like several steps, once it’s configured, you’ll only need to set the BREAKOUT_PASSWORD variable and launch the UI. I find working with the Breakout Tool is a much better experience than using the web console.
Thanks for reading!